Table of Contents
Last Updated on November 13, 2026 by Anthony
A frame can tell you several things at once. There might be tiny eggs in the middle, a band of pollen above them, and empty cells around the edge. By the time you close the hive, it’s easy to forget which frame held what. A short checklist gives you an order to work in and a record you can compare at your next visit.
Before you open the hive
Read the last entry for that colony and pick one question to answer. Has the new queen started laying? Are the bees drawing the frame you added? Is the hive running short of usable comb? That question tells you where to start and when you’ve seen enough.
Set out your veil and protective clothing, hive tool, smoker, and inspection sheet. Choose a mild, dry spell for a routine full inspection and keep the brood covered as much as you can. In a small backyard, work from the side or rear so you can lift frames without standing in the main flight path. Start by watching the entrance for a moment. Note activity, but save conclusions about the brood and food for what you find inside.
Print a separate hive inspection sheet for each colony. The free Urban Beekeeping Record Pack has versions in A4 and US Letter.
The beehive inspection checklist
Use this as a routine checklist for an established honey bee colony in a removable-frame hive. A visit to check a feeder or follow up on a specific problem can be shorter.
| Check | What to look for | What to record |
|---|---|---|
| ☐ Entrance and equipment | A clear entrance, stable stand, sound boxes, and a secure cover. | Anything you cleared or repaired, and anything that needs replacing. |
| ☐ Queen and recent laying | Tiny eggs at the bottom of cells and young larvae in the brood nest. Look for the queen if the purpose of the visit calls for it. | Eggs seen, queen seen, and which frames you checked. Record “not checked” if you skipped this step. |
| ☐ Brood pattern | The spread of open and capped brood, and any marked change from the last visit. | Which frames hold brood and whether it looks compact, scattered, or unusual for this colony. |
| ☐ Food stores | Pollen near the brood and visible nectar or capped honey. | Where the stores are and how they compare with the last check. |
| ☐ Usable space and queen cells | Empty drawn cells near the brood, undrawn foundation, and any queen cells you notice. | How much drawn comb is still open. If you find queen cells, note where they are and what you can see inside. |
| ☐ Pests and disease | Unusual brood, damaged cappings, or abnormal larvae. Take a separate Varroa count when it’s due. | The visible signs and where you saw them. Record the sampling method and result, or mark the count “not sampled.” |
Extension inspection guides use these same basic categories to assess a colony. Written notes make the checklist more useful because you can compare what you see over time.
What to look for on your first beehive inspection
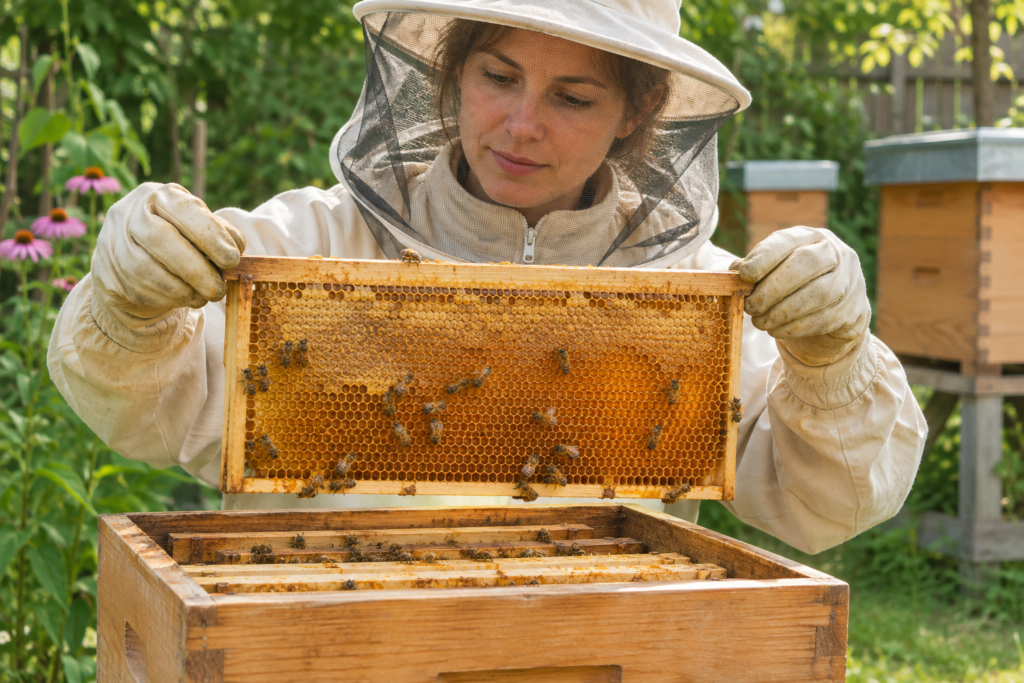
If you’re new to handling frames, ask an experienced beekeeper to join you if you can. Loosen an outside frame with your hive tool and lift it slowly. If there’s room to set it safely in a frame holder, that gap gives you space to lift the next frame without scraping its face against the comb beside it. Hold the frame over the open hive and tilt it so light reaches the bottoms of the cells.
On a brood frame, look for eggs first. They’re small and easy to miss when the light is poor. Then look for pale larvae curled in open cells and patches of capped brood. Eggs in a normal laying pattern are evidence of recent laying, so you can often finish without searching every frame for the queen. If you’ve just installed a package or nucleus colony, use the supplier’s guidance for the timing and purpose of your first visit.
Take a moment to look at the cells beside the brood. Empty drawn comb gives the colony cells it can use now. A sheet of undrawn foundation still needs to be built out. Writing “two frames of undrawn foundation” tells you more than “two frames of space.”
Return frames in their original order and orientation during a routine check. If you see something you can’t identify, record where it is and take a clear photo if practical. Suspected foulbrood calls for prompt advice from your local bee inspector or equivalent authority. In Scotland, report it to the Scottish Government Honey Bee Health Team.
A completed hive inspection log entry
Here’s a fictional example from a routine spring visit to an established backyard colony. Frame numbers run from left to right as viewed from behind the hive.
| Log field | Example entry |
|---|---|
| Hive and conditions | Hive B, 18 May. Mild and dry. Bees calm during the inspection. |
| Queen and brood | Queen not seen. Single eggs seen on frame 4. Young larvae and capped brood on frames 4–5. |
| Food and space | Capped honey on the outer frames. Pollen next to brood on frame 5. Some empty drawn cells beside the brood on frame 6. |
| Pests and equipment | No unusual brood seen on the frames checked. Varroa not sampled. Entrance clear and lid secure. |
| Action taken | Returned frames in order. No change to boxes or feed. |
| Next visit | Check whether frame 6 still has empty drawn cells. Varroa sample due at the next suitable visit. |
The next visit now has a purpose. If frame 6 still has open cells, there’s room immediately beside the brood nest. If it has filled and the colony is expanding, check the rest of the usable comb before deciding whether to add space. A log entry like “Hive looks good” gives you nothing specific to compare.
A glance at the bees and brood gives you observations to record. A Varroa sample gives you a count you can compare over time. When you take a sample, log the date, method, and result so the number still makes sense later.
Your next inspection
On your next visit, take the checklist and write your follow-up question before you open the hive. Leave enough room on the sheet for a brief observation, the action you took, and the next check.
Frequently asked questions
How often should I inspect my beehive?
A check about every two weeks is one starting point for an established colony during the active season. New colonies, swarm season, and specific concerns may call for a shorter interval. In cold weather, routine full inspections generally give way to less disruptive checks. Use local guidance to adjust the timing for your climate and colony.
What if I can’t see eggs during an inspection?
Record “eggs not seen” and which frames you examined. Look for very young larvae and check the previous entry for events such as a split or queen replacement. If the colony should be raising brood and you still can’t find eggs or young larvae, ask a more experienced beekeeper to help you assess it before making a queen decision.
Can I use the same inspection sheet for every hive?
Yes. Use the same headings so your observations are consistent, and give each hive its own sheet or log. Write the hive ID before you start. If you inspect several colonies on the same day, that small step keeps the findings and follow-up actions with the right hive.